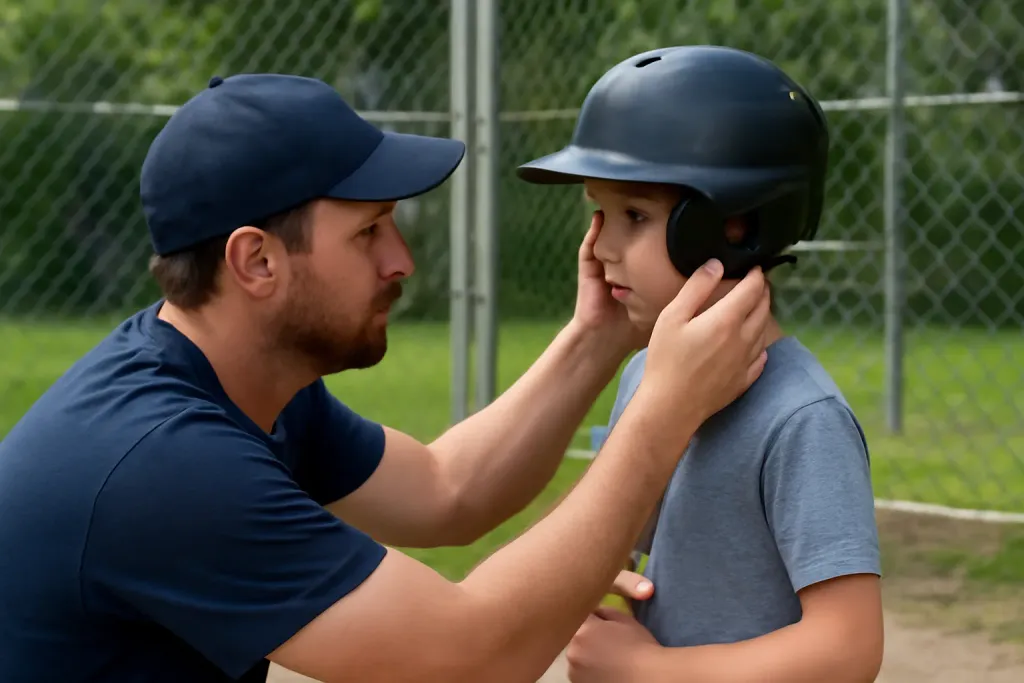
Why Helmet Fit Matters for Families
A batting helmet should feel secure, stable, and comfortable for the player who wears it. For parents, coaches, and PE teachers, the goal is to choose a helmet that stays in place during normal movement and does not distract the child while batting or waiting in the dugout.
This batting helmet fit checklist is meant to help families make a practical, everyday choice. A good fit starts with the right size, then moves through shape, strap placement, visibility, and comfort. Because players grow quickly, fit should be checked often, especially at the start of a new season or after a growth spurt.
It is also important to remember that a helmet should be used as part of the league or school rules in your setting. If a coach or program has a specific equipment policy, follow that first. The checklist below is designed to help adults evaluate fit in a simple and consistent way.
Start by Measuring the Head
The easiest way to begin is with a soft measuring tape. Measure around the head just above the eyebrows and around the fullest part of the back of the head. Keep the tape level and snug, but not tight. If you do not have a tape measure, a piece of string can be used and then compared with a ruler.
Use the measurement as a starting point, not the final decision. Helmet size labels can vary by brand, so the same head measurement may fit differently from one helmet to another. A child who is between sizes should try on both if possible and choose the one that feels more stable without pressure points.
Parents sometimes focus only on age, but head size is a better guide. Two children of the same age can have very different measurements. For a team parent or volunteer coach helping several families at once, a simple head measurement chart can make try-on day easier and more organized.
The Core Batting Helmet Fit Checklist
Use this batting helmet fit checklist each time a helmet is tried on or handed down. Each point should be checked with the child wearing the helmet in a normal position, not tipped back or held in place by hand.
- The helmet sits level on the head, not tilted forward or backward.
- The front edge rests low enough to protect the forehead without blocking the eyes.
- The helmet feels snug all around, with no obvious wobble side to side or front to back.
- The child can open and close the mouth, turn the head, and look left and right comfortably.
- The ear flaps, if present, line up naturally with the ears.
- The chin strap or other retention system can be adjusted so the helmet stays in place without pinching.
- The child does not need to use the hands to keep the helmet from shifting.
- There are no sharp spots, hard edges, or obvious pressure points.
If more than one item on the checklist fails, try another size or another helmet shape. A helmet that seems nearly right but keeps slipping, pinching, or riding too high is usually not the best choice. Fit should feel secure without relying on overtightening.
Check Shape and Helmet Depth
Not every head has the same shape, even when the measurement is close. Some helmets are rounder inside, while others are a little more oval. If a helmet fits the circumference but feels loose in one area and tight in another, the shape may not match the child’s head well.
Depth also matters. A helmet that sits too shallow may rock or feel perched on top of the head. A helmet that is too deep may crowd the ears, press into the neck, or shift into the eyes. The right fit usually feels balanced, with the shell covering the head in a natural way.
During try-on, ask the child to gently nod and turn the head. Watch whether the helmet follows the head smoothly or slides around. If the helmet moves much during these simple motions, it is worth trying a different size or style before making a choice.
Review Straps, Padding, and Closure Points
Once the shell size looks right, check the adjustment points. Straps should lie flat and adjust easily without twisting. They should not dig into the skin or sit awkwardly under the chin. If the helmet uses a chin cup, buckle, or similar closure, make sure it can be fastened and released in a simple, smooth way that the adult or child can manage with practice.
Padding should feel even and comfortable. It should help the helmet sit securely, but it should not create a lopsided feel or leave empty spaces that let the helmet shift. If the liner is removable, it can be useful for cleaning, but it should also go back in correctly each time so the fit stays consistent.
For younger players, the best setup is usually the one that the child can tolerate comfortably during an entire practice. A helmet that starts the day feeling fine but becomes irritating after a few minutes may need further adjustment.
Browse our recommended gear
Our featured picks refresh periodically. While we update them, our editorial guides can help you find the right gear.
See our guidesConfirm Visibility and Natural Movement
A batting helmet should not interfere with what the player can see. Ask the child to look straight ahead, then glance to each side and downward as if checking stance and position. The brim or front edge should not block normal sight lines, especially when the player is looking toward a coach or pitcher.
Natural movement matters too. The player should be able to turn the head, bend slightly, and get ready in a batting stance without the helmet sliding into the eyes or pulling at the neck. A helmet that stays centered and stable during these basic motions is usually easier for a young player to trust.
Visibility can be affected by how the helmet is worn. If a child pushes it too far forward or backward to make it feel more comfortable, the underlying fit may still be wrong. The correct position should feel usable without constant adjustment.
Look for Comfort, Not Extra Room
Families often want a little room to grow, but too much extra space can make a helmet feel unstable. The better approach is to find a secure fit now, then recheck it as the child grows. If the helmet can only be made to fit by adding makeshift padding or by tightening it to an uncomfortable degree, it is probably not the right size.
Comfort is a major part of fit. Pressure points at the forehead, behind the ears, or under the chin can make a player reluctant to wear the helmet properly. The child should be able to wear it for a full practice session without asking to remove it right away. If discomfort appears quickly, do another fitting before the season starts.
It can also help to compare the helmet fit with the child’s normal activity level. A preschool player, a rec league beginner, and an older child in a school program may all need slightly different levels of simplicity and adjustability, even when the same general sizing approach is used.
When Parents and Coaches Should Recheck Fit
Helmet fit is not a one-time task. Recheck it at the start of each season, after a noticeable growth spurt, and whenever a helmet has been handed down to another child. It is also smart to check fit after any change to padding, straps, or removable pieces.
If the helmet has been dropped, crushed in a gear bag, or stored in a way that bends the padding or shell, inspect it closely before use. Even if there is no obvious damage, the fit may have changed. If the helmet no longer sits level or feels consistent, replace it or seek a new fitting option.
For schools and community programs, a quick pre-use routine helps keep things simple. Have the child put on the helmet, fasten it, and complete the same short checklist every time. A repeatable process is easier for volunteers, parents, and teachers to remember.
A Simple Takeaway for Busy Parents
The best batting helmet fit checklist is the one that is easy to repeat. Measure the head, try on the helmet, check that it sits level, confirm that it does not wobble, and make sure the child can see and move normally. Then look for comfort, adjust the straps, and recheck often as the child grows.
If you are shopping online, compare the sizing information carefully and read the product details with fit in mind. If you are shopping in person, let the child wear the helmet for a few minutes before deciding. Small differences in shape and feel can matter more than a label size alone.
For families, the best choice is usually the helmet that fits the child’s head now, stays in place without fuss, and supports regular use in practices and games. A careful fitting process can make the purchase easier and help everyone feel more prepared for the season.