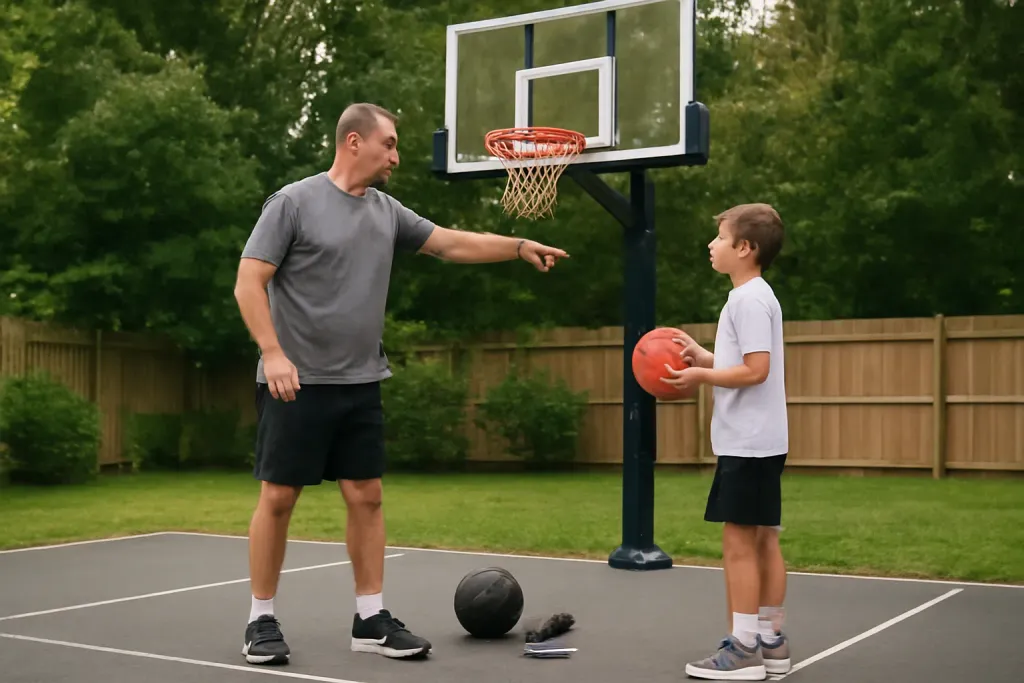
Why Rim Height Matters for Youth Practice
Choosing a basketball rim height for youth practice is one of the simplest ways to make the game more approachable for kids. When the rim is set too high for a player’s current size and ability, even basic drills can feel discouraging. When it is set at a level that matches the child’s stage of learning, the same drills can feel more manageable and more fun.
For families, coaches, and PE teachers, the main goal is not to chase a single perfect number. The goal is to create a practice setup that fits the group in front of you. Some children are just learning how to dribble, pass, and shoot. Others can already make a stable set shot and are ready for a gradual challenge. Rim height is a practical tool for adjusting that challenge.
The most useful way to think about basketball rim height youth practice is as a starting point, not a fixed rule. Younger or smaller players often do better with a lower rim so they can practice a full motion and see the ball go through the basket more often. Older or taller beginners may be ready for a higher setting. The right choice depends on the setting, the equipment, and the purpose of the session.
It also helps to remember that youth practice can happen in many places: a driveway, a gym, a school multipurpose room, or a community center. Each space may limit how high a rim can go and how easy it is to adjust. That is why it helps to think through the group, the drill, and the equipment before settling on one height.
Start With Age, Size, and Skill Level
There is no single rim height that works for every youth player. Age can be a helpful guide, but it should not be the only one. A taller eight-year-old and a smaller ten-year-old may need very different setups. Skill level matters too. A child who is new to basketball may need a lower rim than a child who has practiced shooting for several seasons.
A simple approach is to ask three questions before practice:
- Can the players reach the rim comfortably with a basic shot motion?
- Can they attempt common drills without becoming frustrated by the height alone?
- Does the rim allow them to focus on footwork, aim, and form rather than just trying to get the ball up high enough?
For very young beginners, a lower setting can help them understand how the game works. It gives them a better chance to practice a shooting motion that looks and feels like basketball, rather than only pushing the ball upward. For older beginners, a mid-level setting may be more useful because it begins to resemble the standard game while still remaining manageable.
Parents and coaches do not need to make the choice complicated. The best starting point is the height that allows the majority of players in the group to complete simple practice actions with reasonable comfort. If the session includes mixed ages, it can be useful to set the rim for the youngest players and adjust drills accordingly for the older ones, or use different baskets when available.
Common Height Options for Youth Practice
When people discuss basketball rim height youth practice, they often think first about the standard adult rim. That is important, but youth practice usually benefits from a broader range of options. A lower rim can support early learning, while a higher rim can support more advanced practice.
Here are some common ways families and coaches think about rim height:
- Lower practice height: Useful for very young players, new beginners, or short group sessions focused on simple shooting success.
- Mid-range youth height: Helpful for players who can already handle basic form and are ready for more realistic practice.
- Standard height: Better for older youth players who are working toward the game’s normal setup.
The right setting depends on the purpose of the practice. If the goal is to introduce the game, a lower rim may make the experience more welcoming. If the goal is to prepare players for regular games, a higher rim may be appropriate as long as the players can still practice effectively. In many cases, the best option is to start lower and move upward over time.
It is also worth noting that different drills may call for different settings. A close-range shooting drill can work well on a lower rim, while a simple team warm-up may be easier to run on a higher one. If you have adjustable equipment, use that flexibility to match the drill, not just the player.
How to Choose a Rim Height for Your Space
The space you use can shape your choice just as much as the players do. A driveway hoop, a portable system, and a school gym can all have different practical limits. Before selecting a rim height, check what the equipment can safely and comfortably support. Some systems are easy to adjust, while others are meant to stay at one height.
For home use, consider who will use the basket most often. If the main users are young children, a lower starting point may make more sense. If the basket will be shared by siblings of different ages, an adjustable hoop is often easier to manage. For schools and recreation programs, flexibility is valuable because the same basket may serve several age groups in one week.
Think about the surrounding area too. A smaller practice space may benefit from a height that keeps the action simple and contained. In larger gyms, a higher rim may be fine because players can step back and take more varied shots. If the setup is temporary, make sure the hoop is stable and that the adjustment process is straightforward for the adults responsible for it.
If you are comparing options for home or program use, look for equipment descriptions that clearly explain the range of rim settings and how the height is changed. That makes it easier to choose a system that fits your group now and can still work as the players grow.
Browse our recommended gear
Our featured picks refresh periodically. While we update them, our editorial guides can help you find the right gear.
See our guidesMatch Rim Height to the Drill
Not every drill needs the same rim height. A smart practice plan uses the basket as one part of the lesson, not the only focus. If the drill is designed to teach confidence and basic shooting rhythm, a lower rim can be a good fit. If the drill is meant to prepare players for game-like shots, a higher rim may be better.
For example, beginners often benefit from short-range shooting, simple layup lines, and easy catch-and-shoot repetitions. These drills can become more productive when the basket height allows players to complete the movement without strain or repeated missed attempts caused mainly by the rim being too high. On the other hand, if players are older or more experienced, they may need a standard or near-standard rim to keep the drill realistic.
It can also help to adjust the rim height during a season or program. Early sessions may focus on learning the ball, the basket, and the basic shooting motion. Later sessions may move the rim upward as players gain confidence. This gradual approach keeps the practice environment aligned with the group’s current stage.
Coaches and parents should avoid assuming that one height is always the right answer. Instead, ask what the drill is trying to teach. If the basket height helps players learn the intended skill, it is probably a good choice for that practice session.
Adjustable Hoops vs. Fixed-Height Setups
Adjustable hoops are often the easiest choice for youth practice because they allow the rim height to change as children grow or as the drill changes. This flexibility is especially useful for families with more than one child, volunteer coaches working with mixed ages, or PE teachers rotating through different classes.
Fixed-height setups can still work well, especially in gyms or outdoor spaces where the basket is already installed. In those cases, the main question is whether the current height matches the group. If it does not, you may need to modify the drill, choose a different basket, or focus more on other fundamentals like passing and footwork.
When comparing equipment, look at practical details rather than marketing language. Consider:
- How easy the height is to change
- Whether the adjustment can be handled by one adult
- Whether the system clearly shows the current setting
- How well the hoop fits the available space
For many families, the biggest benefit of adjustable equipment is not just convenience. It is the ability to keep the practice experience in step with the child’s development. That makes it easier to maintain interest without forcing every session to use the same setting.
Setting Expectations for Parents and Coaches
A good rim height helps, but it is only one part of a productive youth practice. Children still need patient instruction, simple goals, and clear expectations. If adults expect too much too soon, even a well-chosen basket height may not make the session feel successful. The best approach is to let the rim support the teaching, not replace it.
Parents and volunteer coaches can make practice smoother by explaining why the basket is set at a certain height. Younger children often accept the setup more easily when they know it is there to help them learn. Older children may prefer a higher setting because it feels more like the game they watch or play with friends. Being clear about the reason for the choice helps build trust and keeps the focus on learning.
It also helps to keep practice goals simple. Rather than trying to fix every part of the game at once, choose one or two basic priorities for the session. A lower rim can support confidence and repetition. A higher rim can support a more realistic challenge. Either way, the goal is to create a positive learning environment.
If multiple adults are involved, agree in advance on how and when the rim will be adjusted. Consistency matters. A basket that changes height too often can confuse players, while a predictable setup helps them understand what to expect when they arrive for practice.
Simple Checklist for Choosing the Right Height
If you want a quick way to decide on basketball rim height youth practice, use this short checklist before the session begins:
- Who is practicing, and what are their ages and sizes?
- What is the main goal of today’s drill?
- Is the equipment adjustable, and how easy is it to change?
- Will the height help players participate with confidence?
- Does the setup fit the available indoor or outdoor space?
If the answer to most of these questions points toward a lower rim, start there. If the group is older, taller, or already comfortable with the game, a higher setting may be more suitable. The key is to choose a height that matches the players rather than forcing them to match the hoop.
For families shopping for a basket, it can be helpful to think beyond today’s practice. A good hoop should work not only for the child’s current stage, but also for the next stage as they grow. That is why adjustability and ease of use matter so much in youth equipment.
In the end, the best rim height is the one that helps kids practice with interest, understand the drill, and keep coming back. For beginners, that often means starting lower than the standard game and then moving up over time as skills and confidence develop.