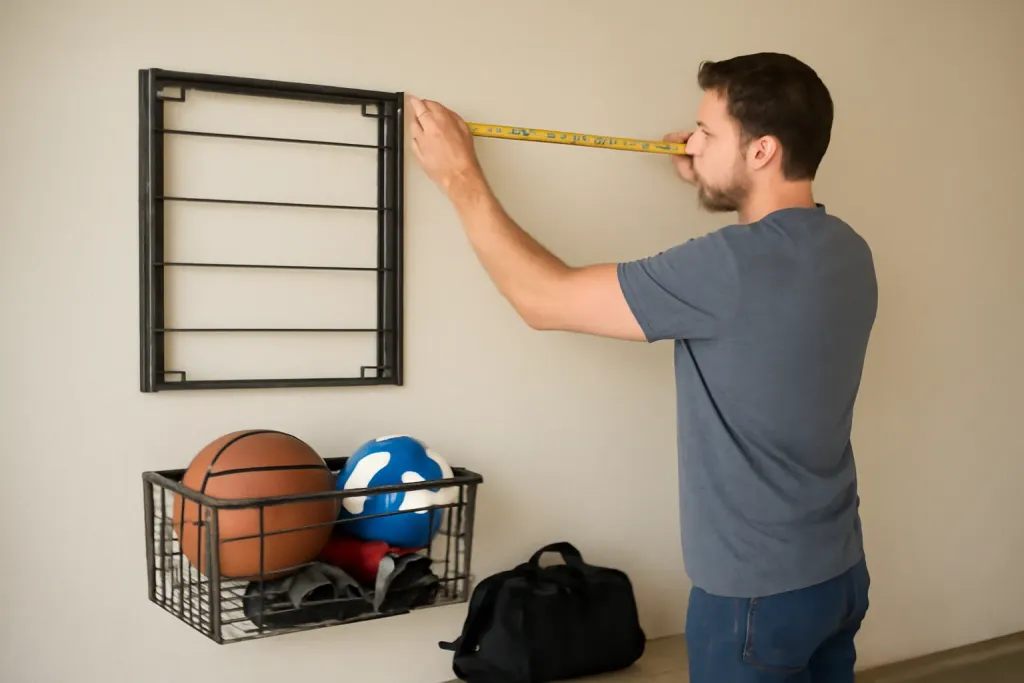
Why Wall Measurements Matter Before You Buy
If you are measuring garage wall for storage rack use, the goal is not just to find a wall that looks wide enough. A rack needs usable space, safe clearance, and a layout that works with doors, shelves, outlets, and anything else already on the wall. A few careful measurements now can save you from ordering a rack that fits on paper but fails in real life.
For families, beginners, and volunteers trying to organize sports gear, the right wall setup can make it easier to keep balls, bats, helmets, cones, and other equipment in one place. The trick is to measure the wall the way the rack will actually live there, not just edge to edge.
Think in terms of three questions: How much width do you really have, how much height is usable, and what is in the way? Once you answer those, you can narrow your choices and compare them against the rack’s dimensions with more confidence.
Tools You Will Need
You do not need a long list of specialty tools to measure a garage wall. In most cases, a tape measure, pencil, paper, and a phone camera are enough. A level can help you check whether the wall area or floor line appears even, but it is not required for the basic measuring process.
It also helps to have painter’s tape or masking tape for marking the outline of the space. That way, you can visualize the rack footprint before you make a decision. If you are planning to mount the rack to studs, a stud finder may be useful for locating framing behind drywall. A notepad or simple sketch of the wall can keep your measurements organized.
- Tape measure
- Pencil and paper
- Phone camera for reference photos
- Painter’s tape for temporary outlines
- Stud finder, if wall mounting is involved
- Level, if you want to check alignment
Before you start, decide whether you are measuring only for width and height or whether you also need to account for anchors, mounting points, and rack depth. That extra step matters because a storage rack can look compact from the front and still require a lot of room once installed.
Measure the Full Wall Area First
Start with the simplest measurement: the total wall width from one side to the other. Measure at several points, especially if the wall has an irregular shape, base trim, or anything that changes the usable width. Do not assume the top, middle, and bottom are identical, because garages are not always finished like interior rooms.
Next, measure the usable height from the floor to the point where the rack could reasonably end. If the ceiling is low, there may be only one practical height range. If the ceiling is taller, you still want to know how much of that space is useful for the rack and how much you want to leave open for doors, lighting, or overhead storage.
When possible, write the measurements in the same format each time, such as width by height. For example, a quick wall sketch can help you compare possible rack placements. If one section of the wall is wider but includes a window or outlet, another narrower section may actually be the better choice once obstructions are accounted for.
A simple habit is to measure twice: once across the full wall and once across the exact portion you expect the rack to occupy. That second number is often the one that matters most.
Account for Doors, Outlets, Windows, and Trim
Many garage walls appear open until you start marking the actual usable space. Doors can swing into the area you planned to use. Windows may limit vertical placement. Light switches, outlets, hose bibs, or exposed pipes can all affect where a rack can go. Even basic trim and molding can change how a rack sits against the wall.
Take a close look at anything that interrupts a flat mounting area. If the rack needs to rest directly on the floor, check whether base trim or uneven concrete will affect placement. If the rack is wall-mounted, make note of outlet locations and any fixtures that cannot be blocked. For a freestanding rack, remember that handles, side rails, and stored items can extend beyond the unit’s frame.
A good method is to mark each obstruction on your wall sketch and note how far it sticks out. Then compare that with the rack’s dimensions, including any clearance suggested by the manufacturer. That is especially important for a storage rack meant to hold equipment with long handles or wide bins.
Do not forget the path into the garage. A rack might fit on the wall but create a problem if it makes parking tighter, blocks a walkway, or interferes with moving gear in and out.
Browse our recommended gear
Our featured picks refresh periodically. While we update them, our editorial guides can help you find the right gear.
See our guidesFind Studs and Mounting Points
If your storage rack is designed to be mounted to the wall, finding studs is one of the most important steps. Drywall alone is not the same as a structural mounting surface, so you need to know where the framing is before you plan the installation. A stud finder can help, but you should still verify the locations with your own measurements and wall sketch.
Once you identify the studs, measure the distance between them and note any that line up with where you want the rack to go. Not every rack will match every stud pattern, and that is why wall measurements should include both open space and framing layout. If a rack has multiple mounting holes or rails, the spacing of those points matters too.
Keep in mind that some wall-mounted racks need room above, below, or beside the main frame for proper installation. Even if the unit’s front dimensions seem modest, the mount points may require extra space. Before buying, compare the rack’s required mounting width and height against your marked stud locations.
If you are not sure whether a wall-mounted option is right for your space, a freestanding rack may be easier to place. Even then, you still need accurate wall measurements so the unit does not crowd the area or interfere with other garage use.
Measure Depth and Clearance, Not Just Wall Width
One common mistake when measuring garage wall for storage rack placement is focusing only on width. Depth matters too. A rack that holds balls, bags, helmets, or long-handled equipment may project farther than expected, especially once items are loaded. That can affect how much space is left for walking, opening doors, or reaching other storage areas.
To plan properly, measure how far the rack could extend from the wall and compare that with the available floor space in front of it. Leave enough room for easy access to the items you plan to store. If the rack is going near a car, tools, or a doorway, check those clearances carefully. It is much easier to place tape on the floor and test the footprint than to move a heavy rack later.
Think about the height of the items, not just the rack itself. A storage rack for sports gear may hold tall bats, umbrellas, sticks, or fishing rods, and those items can require more vertical clearance than bins or balls. If the rack includes hooks or baskets, account for how the stored gear will sit once everything is in place.
A practical way to avoid surprises is to trace the rack’s approximate footprint with painter’s tape. Mark the width, depth, and any swing or access space you need in front of it. This gives you a better sense of how the wall will function day to day.
Match Your Measurements to Product Dimensions
Once you have the wall dimensions, compare them carefully with the rack’s listed size. Look beyond the headline number. A product may list overall width, but the real question is whether that width fits the usable wall area after trimming away obstructions, baseboards, and mounting needs. If the rack includes shelves, hooks, or side arms, those features may change the true space requirement.
Read the product details closely and compare them with your sketch. Check whether the rack is meant to be wall-mounted or freestanding, and confirm what kind of surface it needs. If the product mentions installation instructions, review them before making a final choice. A rack that seems like a good fit visually may still need more room for brackets, fasteners, or access during installation.
It is also smart to think about the types of gear you want to store. A rack for balls and gloves may need different spacing than one for bats, sticks, or mixed family equipment. Measure the tallest and widest items you expect to store so the rack can handle them without crowding the wall or becoming hard to use.
If you are comparing multiple racks, use the same worksheet for each one. List the width, height, depth, mounting style, and any special clearance needs. That keeps the decision organized and makes it easier to rule out options that do not fit your space.
Avoid Common Measuring Mistakes
Several mistakes come up again and again when people measure a garage wall for storage rack placement. The first is rounding too aggressively. Even a small difference can matter when a wall is crowded or the rack has a tight mounting layout. Another mistake is forgetting to measure around obstacles and assuming the open wall space is fully usable.
It is also easy to overlook the practical side of access. A rack may technically fit, but if you cannot reach the gear comfortably, it will not work well for daily family use. Leave room for hands, arms, and the items themselves. If children will be using the setup, simplicity matters even more.
Another common issue is skipping a wall sketch. A rough drawing with labeled measurements can reveal conflicts you might miss while looking at the wall in person. This is especially helpful if the garage is used for more than sports storage. The same wall may need to work around bikes, lawn tools, trash bins, or seasonal items.
Finally, do not assume the first open space is the best space. The best location is the one that fits the rack, allows access, and keeps the garage easy to use. Careful measuring helps you choose with confidence instead of guessing.